Run a Self-Hosted Demo Cluster
See how a self-hosted Teleport deployment works by completing the tutorial below. This shows you how to spin up a single-instance Teleport cluster on a Linux server using Teleport Community Edition. Once you deploy the cluster, you can configure RBAC, register resources, and protect your small-scale demo environments or home lab.
We will run the following Teleport services:
- Teleport Auth Service: The certificate authority for your cluster. It issues certificates and conducts authentication challenges. The Auth Service is typically inaccessible outside your private network.
- Teleport Proxy Service: The cluster frontend, which handles user requests, forwards user credentials to the Auth Service, and communicates with Teleport instances that enable access to specific resources in your infrastructure.
- Teleport SSH Service: An SSH server implementation that takes advantage of Teleport’s short-lived certificates, sophisticated RBAC, session recording, and other features.
Step 1/4. Configure DNS
Teleport uses TLS to provide secure access to its Proxy Service and Auth Service, and this requires a domain name that clients can use to verify Teleport’s certificate. Set up two DNS A records, each pointing to the IP address of your Linux host. Assuming teleport.example.com is your domain name, set up records for:
| Domain | Reason |
|---|---|
teleport.example.com |
Traffic to the Proxy Service from users and services. |
*.teleport.example.com |
Traffic to web applications registered with Teleport. Teleport issues a subdomain of your cluster’s domain name to each application. |
Step 2/4. Set up Teleport on your Linux host
Install Teleport
On your Linux host, run the following command to install the Teleport binary:
Configure Teleport
Port 443 on your Teleport Proxy Service host must allow traffic from all sources.
Start Teleport
You can check the status of your Teleport instance with systemctl status teleport and view its logs with journalctl -fu teleport.
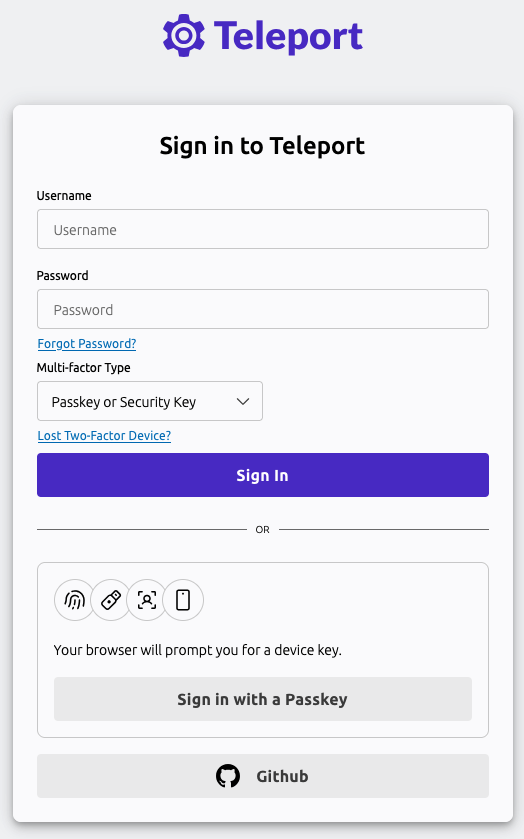
Access Teleport’s Web UI via HTTPS at the domain you created earlier (e.g., https://teleport.example.com). You should see a welcome screen similar to the following:
Step 3/4. Create a Teleport user and set up multi-factor authentication
In this step, we’ll create a new Teleport user, teleport-admin, which is allowed to log into SSH hosts as any of the principals root, ubuntu, or ec2-user.
On your Linux host, run the following command:
tctl is an administrative tool that is used to configure Teleport’s auth service.
The command prints a message similar to the following:
User "teleport-admin" has been created but requires a password. Share this URL with the user to complete user setup, link is valid for 1h:
https://teleport.example.com:443/web/invite/123abc456def789ghi123abc456def78

NOTE: Make sure teleport.example.com:443 points at a Teleport proxy which users can access.
Visit the provided URL in order to create your Teleport user.
Step 4/4. Enroll your infrastructure
With Teleport, you can protect all of the resources in your infrastructure behind a single identity-aware access proxy, including servers, databases, applications, Kubernetes clusters, Windows desktops, and cloud provider APIs.
To enroll a resource with Teleport, visit the Web UI and click Enroll New Resource. The Web UI will show you the steps you can take to enroll your new resource.
On the home page of the Web UI, you can see that you have already enrolled your Linux server.
my /etc/teleport.yaml
version: v3
teleport:
nodename: TelePort
data_dir: /var/lib/teleport
log:
output: stderr
severity: INFO
format:
output: text
ca_pin: “”
diag_addr: “”
auth_service:
enabled: “yes”
listen_addr: 0.0.0.0:3025
cluster_name: teleport.XXXXX.net
proxy_listener_mode: multiplex
ssh_service:
enabled: “yes”
proxy_service:
enabled: “yes”
web_listen_addr: 0.0.0.0:443
public_addr: teleport.XXXXX.net:443
https_keypairs:
– key_file: /etc/letsencrypt/live/XXXXX/privkey.pem
cert_file: /etc/letsencrypt/live/XXXXX/fullchain.pem
https_keypairs_reload_interval: 0s
acme:
enabled: “yes”
email: XXXXXX
生成或获取 SSL 证书
您可以选择使用 Let’s Encrypt 获取受信任的免费 SSL 证书,或生成自签名证书。
使用 Let’s Encrypt 获取免费 SSL 证书:
- 安装 Certbot:
sudo apt update
sudo apt install certbot
- 获取证书:
sudo certbot certonly --standalone -d your-domain.com
此命令将在 /etc/letsencrypt/live/your-domain.com/ 目录下生成证书文件。